Planning an Amazing Baby Clothes Quilt: Step-by-Step
Updated: July 15th, 2024 | Published: August 16th, 2021
8 min. read
By Andrea Funk
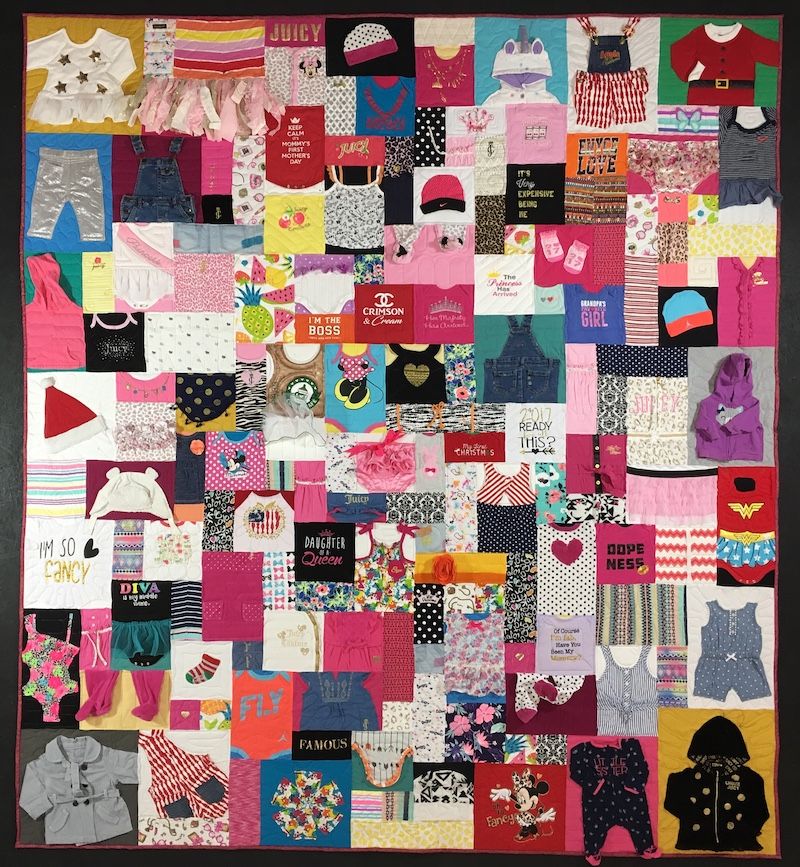
Baby clothes quilts are so much fun! They are full of the special clothes and baby items from the first year of a baby's life. Here's everything you need to know about having a baby clothes quilt made.
We’ve organized the article into subtopics for easy navigation. You can jump to the section that interests you or read through from start to finish.
Table of Contents
Choose the Recipient of Your Quilt Example of Baby Clothes QuiltsChoose the Recipient of the Quilt
Decide If You Want a Simple or Complex Baby Clothes Quilt
Select Items to Include in Your Quilt
Choose How Many Items to Include in Your Quilt
Preparing Your Baby Clothes to Send to Your Quilt Maker
Example of Baby Clothes Quilt
Choose the Recipient of the Quilt
Before deciding which baby clothes to include, take a moment to think about who the quilt is for. Is it a gift for the parents to cherish now, filled with memories of their little one’s early days? Or is it meant for the child to grow up with, offering a tangible connection to their babyhood? This choice can guide how you approach the selection process.
For the Parents
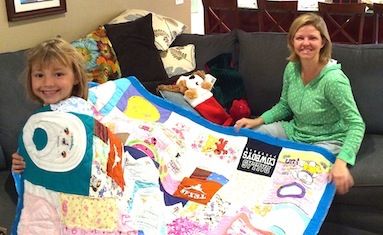 If you are the parent or if you are making a quilt for a parent or the parents, you can combine the clothing of multiple children into one quilt. You also will want to try to choose items from each child evenly so the quilt reflects each child’s babyhood.
For the Child
Carefully sort the clothing out among the children. Make sure you have the right items in each child's quilt. Fortunately, the children will not remember each item. If there is a mix up, it won't be the end of the world as it might be for a quilt made with their T-shirts when they graduate from high school.
We suggest getting a basket or box for each child while you are sorting out the clothing. If more than one child wore an item, put those items into a separate bag. Label the bag “For Use in Multiple Quilts”. Then write a note on each item as to whose quilt it needs to go in.
For example, if you have a blanket that needs to go into both Ann and Mary’s quilt, write on the note “Ann and Mary”. This will tell us to cut two blocks from the shirt and put one in each child's quilt.
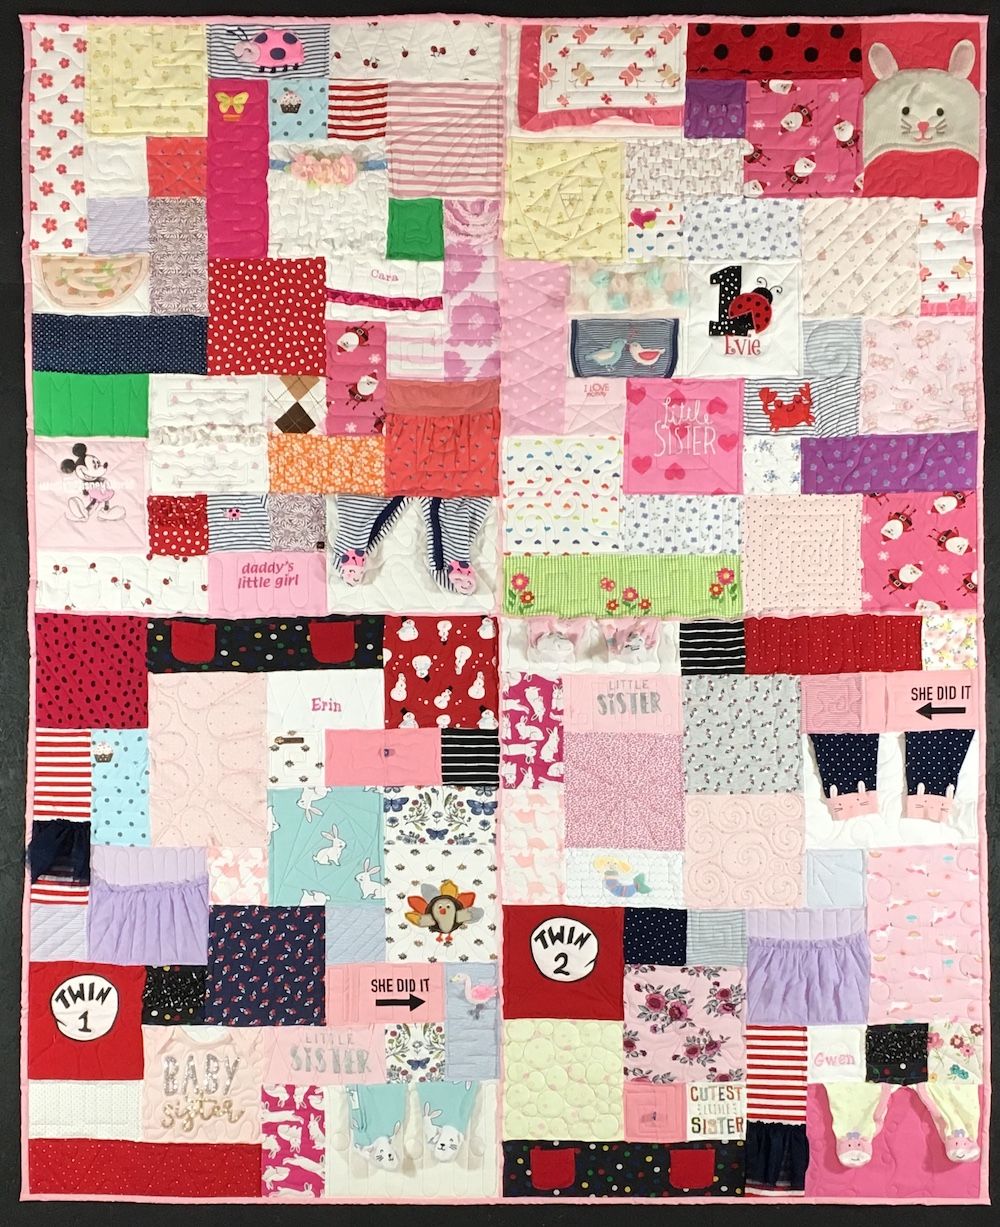
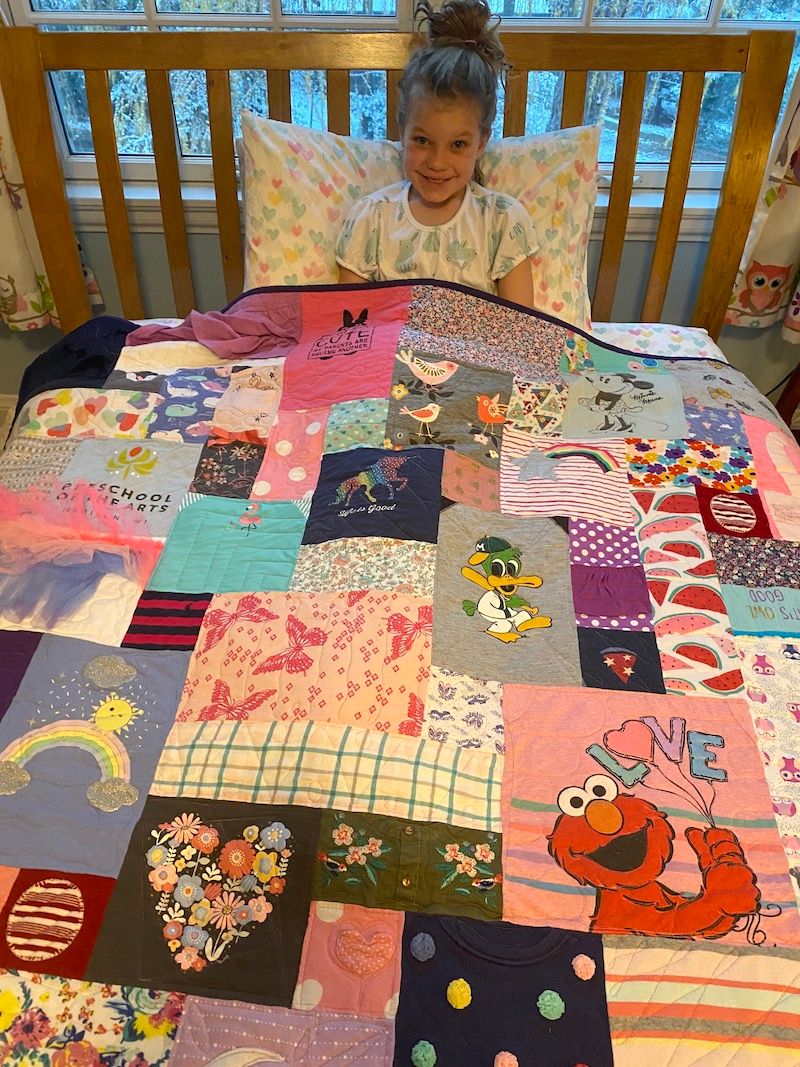
The quilt below is for four girls. Each child's clothing were put in their own section. Right now, they are enjoying the quilt as a family. When the girls grow up and have their own child, we will divide the quilt up into 4 small quilts. You can see that the sections are divided with a thin line of pink fabric.
↑Back to the Table of Contents
Decide If You Want a Simple or Complex Baby Clothes Quilt
Simple Baby Clothes Quilt
 Our simple baby clothes quilts are made using a block or two from each clothing item. These blocks are just blocks of fabric without any special adornments.
Our simple baby clothes quilts do not include appliquéing or sewing down of items such as necklines, collars, bibs, hats, socks, outfits or other such items.
Although these quilts appear relativity simple, they do require a very skilled sewer and quilter to make them look right. As a result, they cost more than a typical T-shirt quilt.
Complex Clothes Quilt
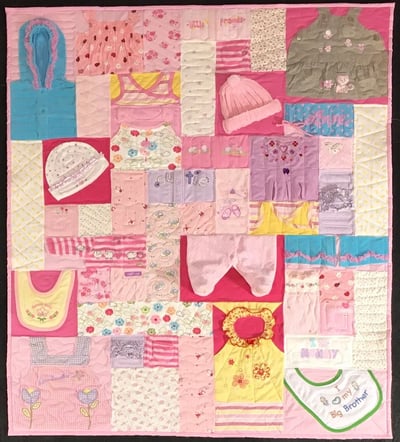 Our complex baby clothes quilts also use a block from each item, but these blocks may include zippers, buttons, bows, collars and other adornments. We also include items that will need to be stitched onto or appliquéd onto another block of fabric. These items include entire outfits, dresses, socks, soft shoes, bibs, hats and bloomers.
The result is an interactive quilt with a 3D feel to it. Buttons can be unbuttoned, zippers zip and unzip. Stuffed animals feet and arms are free to move. These quilts are wonderful.
A complex baby clothes quilt takes much, much more work than a simple one. The variety of fabrics mixed with the 3D items makes sewing and quilting these quilts very difficult. Thus, they are priced at a higher rate than a simple baby clothes quilt. Information about baby clothes quilt pricing.
↑Back to the Table of Contents
Planning a T-shirt quilt?
Here are step-by-step directions for ordering your Too Cool T-shirt quilt.
Select Which Items You Want to Include in Your Quilt
We can use just about anything that is soft and washable. Here are some items you might not had considered including in your quilt.
Baby Shoes
 Look for ones with soft soles. The rubber-soled shoes are not useable. (Complex style only)
Stuffed Toys
We remove the stuffing and flatten it out. (Complex style only)
Blankets and Bedding
This can include blankets, sheets and crib bumpers.
Socks, Booties and Hats
Each of these are great items to put into a quilt. (Complex style only)
Special Bibs
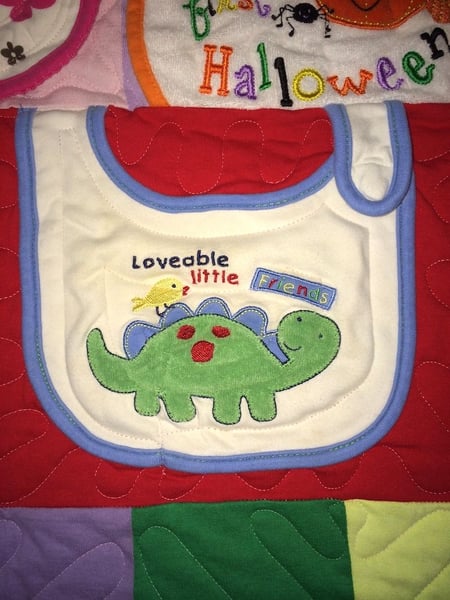 You can use bibs in the quilt. Look for the special ones and the ones that are less stained (unless the stains are important). (Complex style only)
Here's a comprehensive list of some of the items you can include:
- Bibs
- Socks
- Baby slipper
- Overalls with shirt underneath
- Baby blankets
- Onesies
- Dresses
- Ruffle-butt tights
- Headband
- Baby shoe
- Stuffed animals
- Bloomers
- Whole and parts of dresses
↑Back to the Table of Contents
↑Back to the Table of Contents
Choose How Many Items to Include in Your Quilt
This is a very rough estimate.The number of items needed will depends on how much we use from any one item. The more we use from each item, the fewer items you will need.

For example, we might use a larger block from a blanket than we would from a onesie with a small design on the front.
Most people will send us what belongs in the quilt and tell us what size they are hoping to get. We will work with you to make the quilt the size you would like with what you have sent to us.
But don't send us 100 items and expect to have a lap size quilt made.
Do You Think You Might Have Too Many Items?
 First separate out the items that must be in the quilt. Then, in a second pile place your second string items. Send us both groups.
We will first cut from the first group. When we finish cutting the first group, we will stop and check the size those items will make. If we need to, we will then cut from the second bag until we reach the size you want made.
If you only want a small piece from each item, you will need a lot. But if you have a number of larger items that you want whole, you will need less.
If you send too much and the quilt is way larger than you want, we can cut many of the print blocks smaller. A king size baby clothes quilt might take 100 to 150 items.
I don’t know for sure how many items you will need. It will depend on how we use the items and how much fabric the items can yield. But we will be working with you as we figure the size of the quilt.
↑Back to the Table of Contents
Planning a T-shirt quilt?
Here are step-by-step directions for ordering your Too Cool T-shirt quilt.
Preparing Your Baby Clothes to Send to Your Quilt Maker
Here are the rest of the process of getting your baby clothes marked and ready to send out to your quilt maker. Note, these directions are our directions. If you are using another quilt maker, you will need to look at their specific directions.
Wash and Dry the Clothing
 We like to work with clean clothes. Even if your items were packed up clean, please wash them again. It’s not a lot of fun to have to work with musty smelling clothing.
Please do not use detergents with perfumes or dryer sheets. This just makes us sneeze and get congested.
Stains… yep, baby clothes tend to have stains. We will look for areas on the clothing without stains. And if it is too stained, we will work with you to decide if the item is important enough to include even though it’s stained.
Mark What You Don’t Want Us to Use
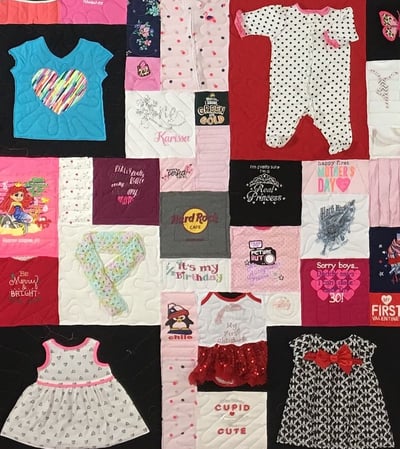 We ask that you put a blue painter's tape X on any part of an item you don’t want used. With baby clothes, typically there is not much to mark for us not to use. You don’t need to mark stains, we try to avoid them.
The more flexibility we have, the more interesting quilt you will have.
If you are planning a complex quilt, you are welcome to separate out the dresses or other items you would like to use whole or as much as possible.
It’s important to go through each item and decide if it belongs in the quilt. Please don’t just toss everything in a box and call it good. This approach tends to end up with items in the quilt that don’t belong.
Box Up Your Items
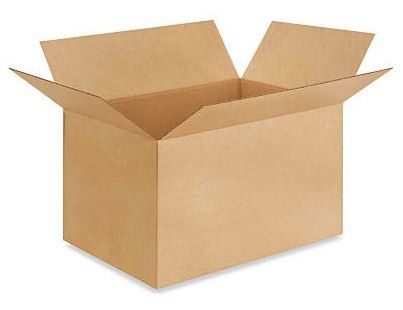 Here’s an article about boxing up your items. It has great information that will help your box arrive here in one piece.
Print Out an Order Form
On the order form, be sure to mark that you want a baby clothes quilt and check in if you want it simple or complex. Note that we cannot make a double-sided or stained-glass baby clothes quilt.
Here’s a link to the order form.
.jpg?width=400&name=Complex%20baby%20quilt%201.%20jpg%20(1).jpg) E-mail or Call Your Quilter to Tell Them to Expect Your Items
E-mail or Call Your Quilter to Tell Them to Expect Your Items
The e-mail address and phone number are on the order form.
Ship to the Address at the Top of the Order Form
For your peace of mind, we suggest you get a tracking number if your shipment doesn't come with one.
Your T-shirts Arrive At Too Cool T-shirt Quilts
- We will e-mail you within 48 hours of receiving your box of baby items.
- We will cut your clothing according to your instructions.
- Next, we calculate the size of your quilt.
- Then we send you an e-mail with size and cost information.
- If we need to change the size of your quilt, we will work on that with you.
- Once you give us the OK, we will make your quilt.
↑Back to the Table of Contents
Example of Baby Clothes Quilts
Examples of Complex Baby Clothes Quilts
 Baby Clothes with Elf Outfit
Size 72 x 88
Border: None
The elf outfit just jump out at you. If it didn't, the front of the outfit is in the upper right hand corner.
What you might not have noticed is the back of the outfit is in the bottom left hand corner of the quilt. We were able to take one outfit and get two really adorable block from it.
This quilt also has parts of a soft mobile included in the quilt. Look for hats, sweater, dresses and the Star Wars Wookie.
 Overalls with Border
Size: 100 x 112
Border: 4” pieced + 2 solid”
Does your baby have lots of overalls? If so their quilt might look like this! If you look close you can see over 10 pairs of overalls. We also used footie pajamas, hats and much more!
We love the sense of playfulness the border adds to this quilt. This quilt demonstrates that a boy can have just as cute quilt as a girl.
 Lots of Feet!
Size: 92 x 100
Border: None
One foot, two foot, left foot, blue foot!
This quilt might hold the record for how many footie PJ’s we’ve ever used in a quilt. We design it so the feet hang loose from the quilt.
We only included the super cute feet – you know, the ones with the faces or other distinguishing feature. It would be a shame to have those sewed-down or not included.
 Purple Loving Baby
Size: 64x76
Border: 2” solid
On the surface, this quilt might look simple. But it’s more complex than you might realize. There are girly overall, sweaters you can unbutton, a hat, pockets, and dresses.
We tend to like quilts with a cohesive color scheme. This quilt has lots of purples and pinks with nice pops of yellow to set off the purple.
 Hats!
Hats!
Size: 64x72
Border: None
When you look at this quilt, the first thing that grabs your attention is the number of hats.
If you spend more time looking, you see the different clothing items used. This includes bibs overalls and even blankets.
We like that this quilt is very interactive and tactile. The overalls can be unbuttoned or unsnapped. There are pockets all over the place.
 Outfits
Size: 60x72
Border: 2” Solid
One of the super cool things about complex baby clothes quilts are that we can use whole outfits.
The sweatshirt in upper right hand corner is a perfect example of this. The hood and both sleeves move and are interactive. Pockets can still be used and zippers still works. It really is Too Cool!

Cute Dude
Size: 60x72
Border: None
This quilt has at least one of everything; hats, bibs, blankets, even a batman costume. It is a great representation of baby boys first year of life.
 Bibs, Hats & Shoes
Size: 40x40
Border: none
Did you know we could use baby shoes in a quilt? No? Well, now you do! As long as the shoes are machine washable, we can use them.
This is an awesome little quilt.
This quilt includes 7 hats, 3 footie PJs, a blanket, two T-shirts, a pair of overalls, 3 bibs and 4 pairs of shoes.
Examples of Simple Baby Clothes Quilts
 Baby Blankets Quilt
Size: 48 x 48
Border: No
This quilt was made for the mother of Sam and Ben from their monogrammed baby blankets. We used pieces from the fronts and backs of their blankets.
This is a very soft and cozy quilt. The blankets all have a little bit different texture. This makes the quilt very fun to touch.
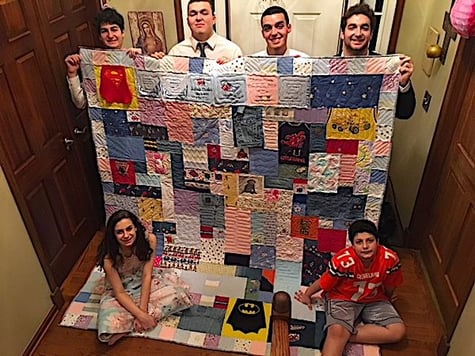 Family with 6 Kids
Size: 84x92
Border: 4” Pieced
This quilt is for the mother of these 6 kids. 5 boys and one girl. Poor girl! To have 5 brothers!
The family included items from all the kids. I am sure that the boys of the family wore a lot of hand-me-downs. There’s almost an equal amount of boy and girl in this quilt.
Across the top of the quilt you will see each of the kid's baby blankets. 5 blue and one pink.
↑Back to the Table of Contents
Want to learn more about T-shirt quilts? Visit our Learning Center.
We have over 200 articles about all aspects of T-shirt quilts.

In 1992, Andrea Funk set out to reinvent the T-shirt quilt—and did. She pioneered the use of multi-size blocks and went on to develop six additional quilt styles, establishing Too Cool T-shirt Quilts as the creative engine behind the modern T-shirt quilt movement.

